Step-by-Step Journey
1 Choosing & Preparing the Clay
Every plate starts with the right clay body. If it’s dinnerware (meals, repeated washing) you usually want stoneware or vitrified clay so it’s strong and safe.
Next comes wedging (kneading) to remove air bubbles, make texture consistent — because trapped air = cracks when you fire.
2 Forming the Plate
There are multiple ways: slab-rolling + pressing, wheel-throwing, or mold/ram-press in industrial setups.
For example: Using a slab: roll out a plan shape (say ¼” thick) then cut a circle, lift walls.
3 Drying & Green Stage
Once shaped, the piece must dry slowly and evenly. Why? Because if water is still trapped, when you fire, it can turn to steam and crack/explode the piece.
4 Bisque Firing
The first firing (bisque) turns the clay into a hard but porous ceramic — ready for glaze. This step permanently changes the clay body.
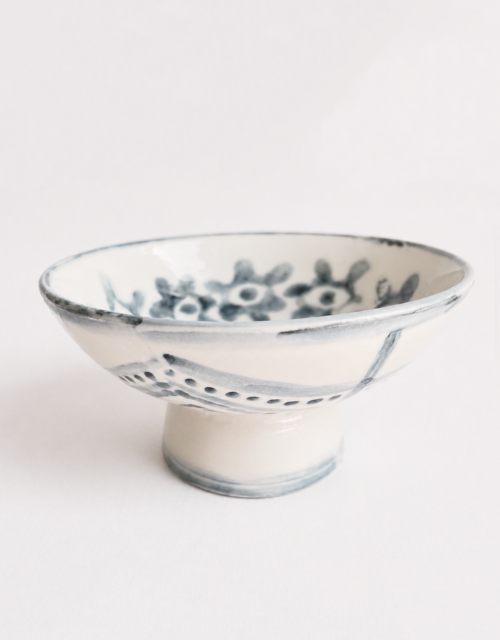
5 Glazing
Glaze gives the plate its finish (color, glassy surface, waterproofing). Glazing is basically painting/ coating the bisque ware, then firing again. The science behind glaze: flux, silica, metal oxides etc. Wikipedia
6 Glaze Firing & Final Heat-treatment
The second firing melts the glaze, bonds it to the clay body, and vitrifies the ceramic (makes it dense, strong). At this point the plate is essentially done for functional use.
7 Quality Check, Decoration & Packing
At this stage the plate might get finishing touches (foot ring trimmed, stamping of maker’s mark), then cleaned/inspected. If it’s for the kitchen it’s tested for food-safety / durability.
8 Into Your Kitchen
From ceramic studio to kiln to distribution to the retailer to you. This plate now holds your food, gets washed, maybe microwaved or oven-used. The materials and process behind it influence durability, appearance, and safety.
Quick Visual Timeline Table
1. Clay Prep
Select clay body (stoneware for meals), wedge to de-air.
2. Forming
Roll slab / throw on wheel / use molds or ram-press.
3. Drying
Even slow drying prevents warping/cracking.
4. Bisque Fire
First kiln firing; hardens clay but still porous.
5. Glazing
Apply glaze to make it safe for food, decorative, sealed.
6. Final Firing
Glaze matures, ceramic vitrifies, plate becomes functional.
Why It Matters & What to Look For
-
Durability: A well-made plate (right clay + firing) will hold up over years of use.
-
Food Safety: Glaze must be safe, the body must be fully fired (no porous spots).
-
Design & Craft Value: Knowing the steps gives you appreciation for handiwork (even if produced industrially).
-
Sustainability: Some makers source local clay, reduce waste, control energy in kiln. e.g.
So next time you reach for that plate, you’re holding something that went through a journey: from raw earth, shaped by hand or machine, dried, fired, glazed, fired again, inspected — and finally making food look good. Understanding the process makes you appreciate that ceramic dinnerware isn’t just tableware. It’s crafted.